WooCommerce gives you a powerful, flexible store — but flexibility can overwhelm shoppers. A product recommendation quiz cuts through a large catalog and points each shopper to the few products that fit them. Here is how to build one on WooCommerce, step by step.
Why a quiz works so well on WooCommerce
WooCommerce stores tend to be catalog-heavy and highly varied — a single store might sell across dozens of categories with hundreds of variations. That is exactly the situation where shoppers stall. They land on a category page, see forty options, and leave to “think about it.”
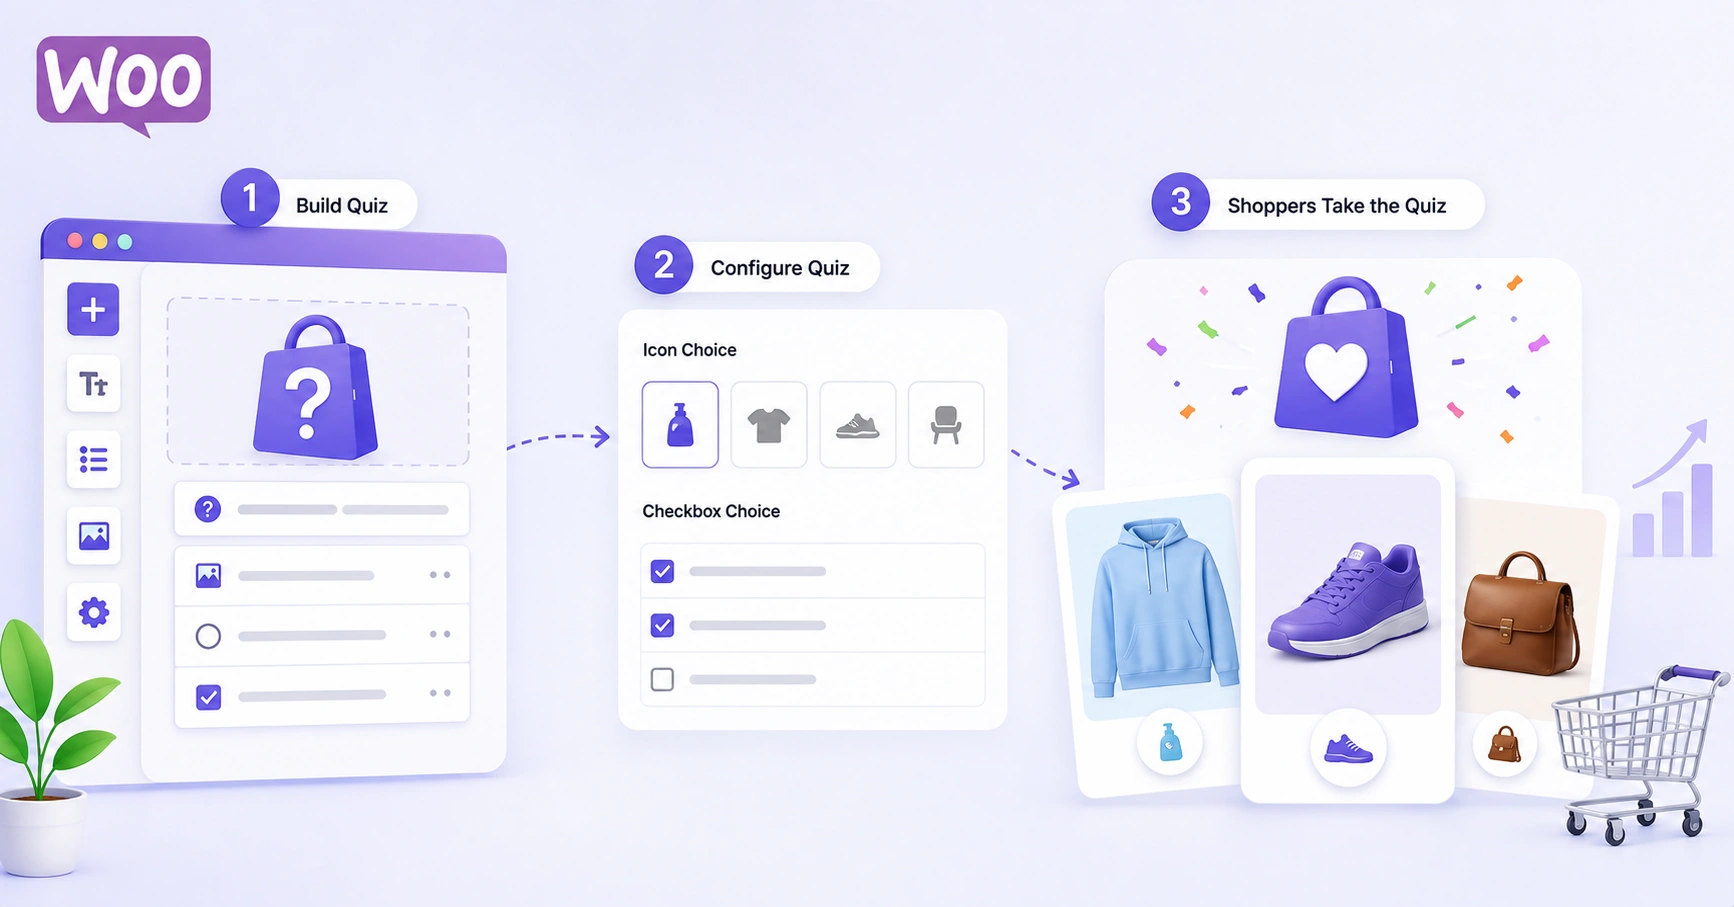
A quiz replaces that wall of choice with a short conversation. Instead of making the shopper filter and compare, you ask a few questions and hand them a ranked shortlist. It is the difference between a search box and a knowledgeable assistant.
What you’ll need
- A WooCommerce store with products, categories, and (ideally) tags already set up
- A ShopperQuiz account — the free plan is enough to build and launch your first quiz
- WooCommerce REST API keys (Read/Write) to connect your store
- The ShopperQuiz WordPress plugin, to embed the quiz on your site
Step 1 — Connect your store
In your WordPress admin, go to WooCommerce → Settings → Advanced → REST API and create a key with Read/Write permissions. Copy the Consumer Key and Consumer Secret.
In ShopperQuiz, open Integrations, choose WooCommerce, and paste your store URL, Consumer Key, and Consumer Secret. ShopperQuiz pulls in your products, categories, and tags and caches them — so the quiz never makes slow, live calls to your store while a shopper is taking it.
Step 2 — Map your catalog to questions
Before you write a single question, decide what actually determines the right product for a shopper. Usually it is two or three dimensions. For a coffee store it might be brew method, roast preference, and caffeine. For skincare it might be skin type, concern, and budget.
Those dimensions become your questions. Aim for 5–8 total — enough to feel personalised, not so many that shoppers drop off.
Step 3 — Build the quiz and assign votes
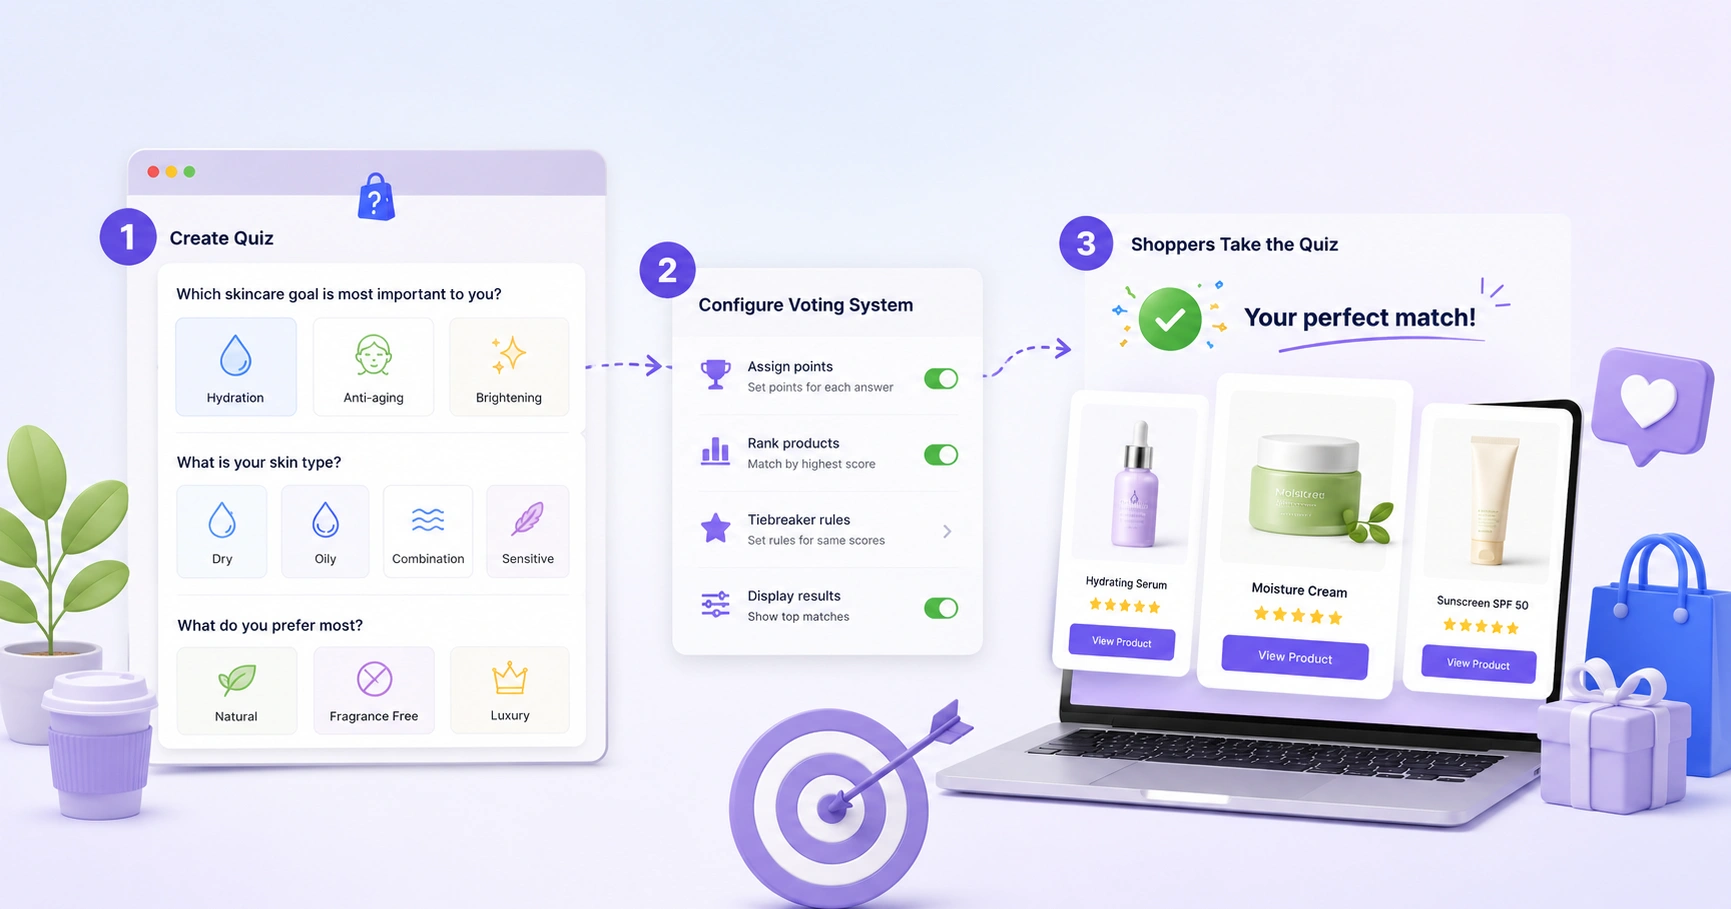
Open the Quiz Builder and add your questions. For each answer, assign votes to the products, categories, or tags that answer should push shoppers toward. ShopperQuiz uses a voting engine: every answer casts votes, products accumulate scores across the whole quiz, and the top-scored products become the recommendation.
- 1Single or multiple select — use single select for most questions; multiple select for “which of these apply?” questions.
- 2Vote by category or tag — instead of listing every product, vote for a whole WooCommerce category or tag at once. It scales as your catalog grows.
- 3Filter questions — for high-stakes segmentation (like “vegan only”), mark a question as a filter so ineligible products are removed entirely, no matter their votes.
- 4Budget filter — add a price question that filters by range, matched against your synced WooCommerce prices. No extra store setup needed.
Step 4 — Embed with a shortcode or block
Install the ShopperQuiz WordPress plugin (Plugins → Add New → Upload Plugin) and activate it. Then drop your quiz onto any page or post with the shortcode:
[shopperquiz id="your-quiz-id"]
Prefer the block editor? Use the native ShopperQuiz Gutenberg block and pick your quiz from a dropdown. The widget works with the block editor, classic editor, Elementor, Divi, and most page builders.
Step 5 — Let shoppers buy without leaving
On the results screen, shoppers can add recommended products to their cart or head straight to checkout — using the native WooCommerce cart, so they never leave your store’s flow. Removing the click-through to a product page is one of the biggest conversion wins a quiz offers.
Step 6 — Measure and improve
Once it’s live, watch the numbers. ShopperQuiz tracks completion rate, drop-off by question, cart conversion, and — on higher plans — revenue attributed to each quiz. If shoppers consistently drop off at one question, it’s confusing or irrelevant; rewrite or remove it. If one product is recommended to everyone, rebalance its votes.
You’re ready to launch
A good WooCommerce quiz takes an afternoon to build and pays for itself quickly — fewer abandoned sessions, higher average orders, and shoppers who found the right product the first time. Start with 5–6 questions, launch, and refine from the data.
Build your WooCommerce quiz free
ShopperQuiz connects to WooCommerce in minutes and works with the shortcode or Gutenberg block. Free plan available — no credit card required.
Start free